Floor to the bottom of the joists in our basement is about seven feet. Floor to the bottom of the heating duct that crosses the middle of it is less than that, which I know because my forehead found it twice the first weekend I worked down there.
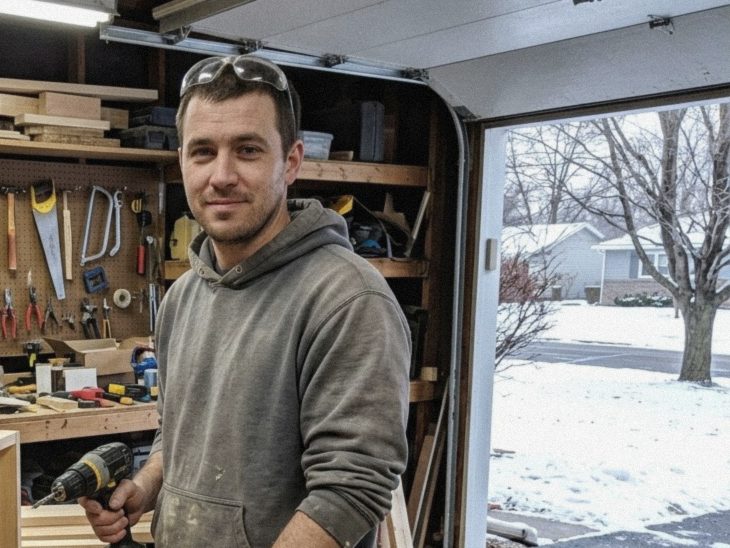
The garage workbench I built last August is great from May to October. From December on, the garage sits in the teens, wood glue won't cure, caulk won't come out of the tube and my hands quit being useful after about twenty minutes. I moved glue-ups to the basement floor in December. In February I gave them a real place to happen.
Picking the corner
The basement isn't big, and a lot of it is spoken for: laundry, the furnace and water heater, the sump pit in the northeast corner by the back door, the floor drain and the dehumidifier. I picked a stretch of block wall on the south side, between the laundry and the stairs, for three reasons.
- Distance from the sump pit. It's about 18 feet away. Nothing in the shop corner sits in the path of water if the pit ever overflows, and nothing I'm doing is in the way of getting to the pump.
- The dehumidifier is close. It sits about six feet away and keeps that end of the basement near 50 percent from May to October. Bare steel rusts fast at the 68 percent our basement used to sit at.
- Light and power. There's one outlet on that wall, and the joists above it are clear of ductwork, so lights could go tight to the joists.
I also checked the block with the moisture meter before hanging anything on it. It read dry, which in a Michigan basement in February is no surprise. The real test will be August.
What went in, for about $260
Lights, $68. Two 4-foot linkable LED shop lights, screwed flat to the bottom of the joists instead of hung on chains, which would have cost me another six inches of headroom. They link together, so one plug runs both. Compared with the single bare bulb that used to light that wall, it's like working in a different house.
Pegboard, $71. Two 2-by-4-foot panels on 1x3 furring strips, fastened to the block with masonry screws. The furring holds the pegboard off the wall so the hooks fit and air can move behind it, which matters on a basement wall. The hook assortment was $20 of that.
A small bench, $52. Four feet wide, a 2x4 frame and a half sheet of 3/4-inch plywood, put together with the same pocket-hole jig as the garage bench. I built it at 36 inches from the start this time instead of guessing low again.
A wall shelf, $24, for glue, finishes, screws and the jar of random hardware every house seems to produce on its own.
An anti-fatigue mat, $29. Concrete is cold and hard, and this was the best $29 of the bunch.
A heavy-duty power strip, $16, screwed to the side of the bench. One outlet, one strip, no extension cords chained together. If I ever want more power down there, that means a new circuit from the panel, and the panel is a job I hire out.
Every tool on the pegboard got an outline in marker. At work we'd call that a bin location, and I'm aware that drawing them on my own basement wall is a bit much. I can find the coping saw now, though.
What doesn't happen down there
A basement shop has real limits, so I set a few rules before anything got built in it.
No real sanding or cutting. Dust travels, and the furnace pulls return air from the basement and sends it through the whole house. Anything dusty waits for a mild Saturday in the garage, or happens with the shop vac running and the door at the top of the stairs shut.
No solvent-based finishes and no spray cans. The furnace and the water heater both burn gas, and the water heater's pilot light is about 15 feet away. Water-based finishes only; the oil-based cans stay out in the garage until spring.
Nothing long. Eight-foot boards still get cut in the garage, even in February. That was the price of the corner, and I'm fine paying it.
The first real project down there was a rack for Tessa's seed-starting trays, which will sit at the end of the bench under a grow light later this month. She has already claimed half the bench for it, and I didn't argue.
Trip count: 2.