I'm writing this on the couch on Saturday night, February 14th, with the upstairs windows cracked an inch and a box fan humming in the hallway. Our Valentine's dinner was takeout eaten on the living room floor. The bedroom has two coats on it, and I can still feel the angled brush in my right forearm.
After last week's ceiling repair, the patched spot on the slope was a brighter white than everything around it. We could have painted just that slope. Tessa looked at it for about ten seconds and said, "We've been talking about this room since we pulled the carpet. Do the whole thing." So we did the whole thing.
Why a Cape bedroom is mostly edges
Our bedroom is about 13 by 17, but you'd never paint it like a 13-by-17 room. The full-height walls are the two gable ends and not much else. The long sides are knee walls about four feet tall, and above them everything is slope: two long sloped ceilings, a flat strip of ceiling down the middle and two dormers, each with its own little ceiling, two side walls and a window. Add two knee-wall access doors, the closet, the door to the stairs and baseboard all the way around.
I counted every edge where one surface meets another, because of course I did. Forty-one, not counting window trim. A roller covers the middle of each surface in a minute or two. The edges are the job.
The decisions that saved us time
Tessa's color call made the biggest difference. The room had walls in one color and slopes in ceiling white. She chose one color for the walls and slopes together, a warm, pale putty with a little green in it that she'd had taped up next to the closet for a month, and only the flat strip down the middle stays white. That got rid of the worst line in the room, the long, wavy one where knee wall meets slope, which in a 1980s drywall job is anything but straight.
The rest of what helped:
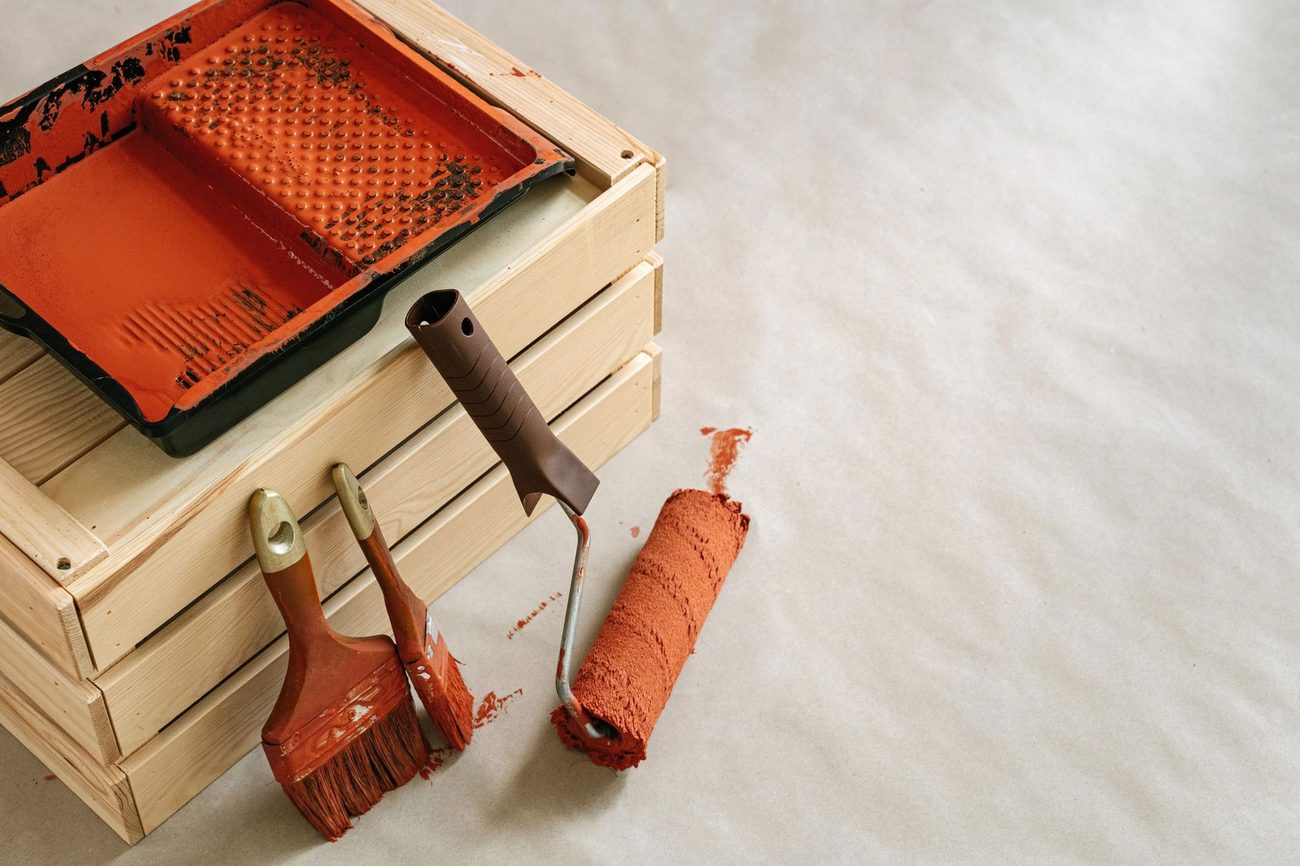
- One good angled brush. A 2.5-inch angled sash brush for $17. I tried the cheap one we already had and it left a fuzzy edge every time.
- A short-handled angled brush for $9, for the inside corners of the dormers, where a full-length handle hits the opposite wall.
- A 4-inch mini roller for the dormer ceilings and side walls, and the regular roller on an extension pole for the big slopes.
- Splitting the work. Tessa is braver on a ladder than I am, so she took the dormers from the stepladder. I cut the long lines where the slopes meet the flat ceiling, then rolled behind her.
The tape mistake
I started Friday evening by taping the line where the slopes meet the white strip, which felt like the careful thing to do. When I pulled the first ten feet to test it, the tape took little flakes of the old ceiling paint with it. Whatever was used up there in the 1980s doesn't hold on to itself very well. So I peeled the rest slowly, touched up the flakes with white and cut that line freehand: brush loaded about halfway, pressed just enough that the bristles fan out a little, then long, slow strokes a few inches from the line, easing toward it.
It took longer than tape would have, if tape had worked. It took a lot less time than fixing tape that didn't. We used tape only along the baseboards, mostly to protect the floor. The oak we refinished last June got two layers of drop cloth and a house rule that no open can sits on the floor without a tray under it.
Time and money
About fourteen hours between the two of us, Friday evening and most of today. Two gallons of Behr came to $76, the two brushes $26, the mini roller and covers $12, tape $8, caulk for gaps along the trim $6, sandpaper $5 and roller tray liners $7. That's $140, on top of the ceiling patch.
Moose was banned from the stairs all weekend and spent it lying at the bottom of them, sighing loud enough to hear on the second floor. We're sleeping in the office tonight. I've already found one spot on a dormer wall that I missed, which I'll fix tomorrow morning and not mention to anyone.