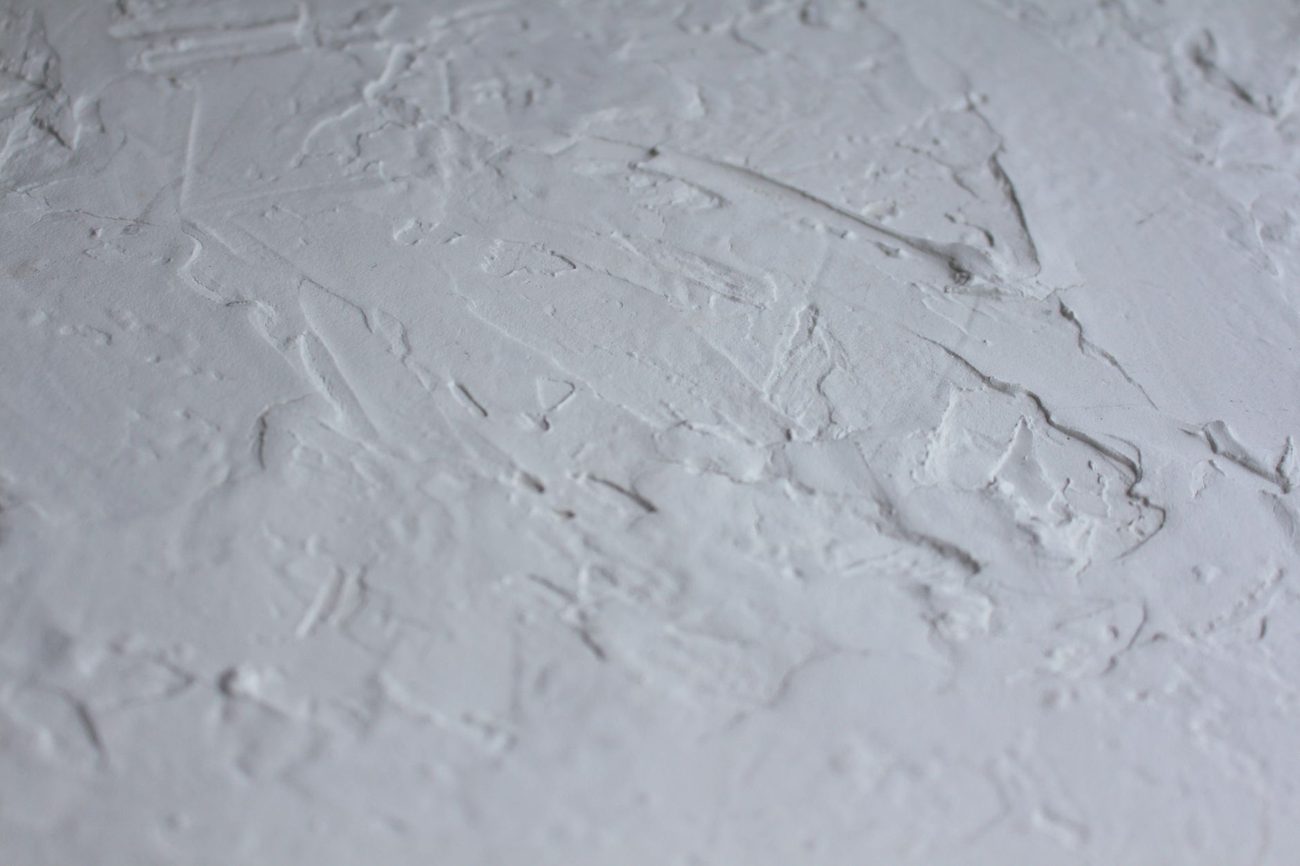
Plaster that's still holding onto the lath sounds solid when you knock on it, like rapping on a countertop. Plaster that's let go sounds hollow and a little papery, and sometimes you can feel it shift under your knuckle. I spent most of Saturday morning walking around the downstairs knocking on walls like I was waiting for someone to answer.
A crack over nearly every door
Our upstairs was drywalled over in the 1980s, but the downstairs walls are the original 1952 plaster. They're in good shape for their age, except around the doors. There's a crack running up from the corner of almost every door frame: the front hall, the bathroom, the office that's now a guest room. Seven in all, mostly hairline, a couple wide enough to fit a fingernail. From what I've read, doorways are where an old house's settling and seasonal movement show up first, so this is normal. Normal and ugly, with family arriving in three weeks.
Two of the seven had loose plaster around them when I knocked. Those were the ones I needed to be careful with. I wasn't, at first.
The one I made worse
I started over the door to the downstairs bedroom because it was the worst, which in hindsight was backward. I hadn't knocked on it yet. I wanted to open up the crack so the compound would have something to grab, so I raked along it with a stiff putty knife, pulling out the crumbly bits. The crumbly bits kept coming. Then a piece about the size of a playing card let go and dropped onto the drop cloth, and I was looking at wood lath and seventy years of dust.
So the crack became a hole. Fixing that took most of Saturday afternoon: plaster washers around the edges to pin down everything that was still loose, a damp sponge on the lath, then setting compound in two layers to fill the hole flush, with mesh tape over the top. It's flat now. In the right light I can still see where it was.
What worked on the other six
After that, I did them in the right order:
- Knock along the crack and pencil a circle around anything that sounds hollow.
- Pin the loose areas first. A plaster washer is a thin perforated disc that goes under a drywall screw. I drilled a small pilot hole, then drove the screw and washer into the lath a couple of inches from the crack, snug but not tight, so it pulled the plaster back against the lath without cracking it again.
- Only then open the crack slightly with a utility knife and vacuum out the dust.
- Mesh tape over the crack and the washers.
- Two thin coats of setting-type compound, the powder you mix with water that hardens chemically instead of just drying. It's harder than the premixed stuff and barely shrinks, which matters on plaster.
- One last skim of lightweight premixed compound, because setting compound is miserable to sand.
The whole job cost $38: plaster washers, a roll of mesh tape, a bag of setting compound and a small tub of lightweight premix. I already had knives, a mixing bucket and a drill.
Two things I'd keep in mind next time. First, mix small batches. Setting compound has a working time printed on the bag, and I threw out half of my first batch when it hardened in the bucket while I was still fussing with the bedroom hole. Second, with paint this old, I assumed some layers had lead. I sanded by hand with a sanding sponge instead of a power sander, wiped everything down with a damp cloth and vacuumed with the shop vac, which sent Moose upstairs to sulk under the bed until the house was quiet again.
Sunday I primed every patch, and the living room touch-up paint happens over Labor Day weekend. Tessa walked past the bedroom door this morning and said, "Nobody at the wedding is going to be looking at door frames." Erin will, though. She's my sister.
The real test is January. Old houses move the most once the heat comes on and the air dries out, so that's when I'll find out whether the washers did their job. I put "check cracks" on my calendar for the second week of January, right after the year-end count at work.